I remember sitting in front of my computer a few years ago, staring at a blank screen on expensive, “professional” editing software. I just wanted to stitch together a few clips from my brother’s wedding. Three hours later, I hadn’t even figured out how to cut the first clip. I closed the app in frustration and opened iMovie. Within 20 minutes, I had a working draft.
That is the power of iMovie. It strips away the intimidating clutter of Hollywood-level suites and gives you exactly what you need to tell a story. Whether you are a budding YouTuber, a parent compiling vacation memories, or a student working on a project, learning how do you edit videos on iMovie is the fastest route to professional-looking content on Apple devices.
This guide walks you through every step, from the first click to the final export, covering both Mac and iPhone workflows.
Getting Started: Setting the Stage

Before you can edit clips, you need a canvas. iMovie keeps this simple, but there is one distinction you need to make right away.
Creating a New Project
When you launch iMovie, you are greeted by the “Projects” tab. Click the big “Create New” button (the plus icon). You will see two options:
- Movie: This is for standard editing. You have total control over the timeline, music, and cuts.
- Trailer: This template uses a Hollywood-style trailer. It guides you on exactly where to place each shot.
For most users asking how to edit videos on iMovie, you want to select Movie.
On iPhone/iPad:
- Open the iMovie app.
- Tap the big plus icon (+) in the project browser.
- Tap Movie.
- Select your media from your camera roll immediately, or skip and add it later.
- Tap Create Movie at the bottom.
The Interface: A Quick Tour
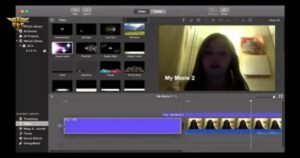
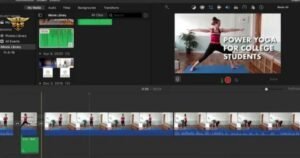
Understanding the user interface prevents headaches later. On a Mac, the screen is divided into three main areas:
- Top Left (Browser): This is where your import media lives. All your video files, audio, and photos wait here.
- Top Right (Viewer): The preview window. This plays back whatever you are working on.
- Bottom (Timeline): The workspace. This is where you drag and drop clips to build your story.
Step 1: Importing Media
You cannot edit what isn’t there. To import videos, click the “Import Media” button (it looks like a down arrow). You can also simply drag files from your Finder directly into the iMovie event library.
Pro Tip: Organization is key. Before opening iMovie, I usually put all my video files, B-roll, and music into a single folder on my desktop. It saves you from hunting for files later.
Step 2: Mastering the Timeline (Trimming and Splitting)
This is the meat and potatoes of video editing. You want to keep the good stuff and cut the boring parts.
Drag and Drop
Drag a clip from your browser down to the timeline. iMovie uses a “Magnetic Timeline.” If you delete a clip in the middle, the clips to the right instantly snap left to fill the gap. No black empty spaces!
Trimming Video
To shorten a clip:
- Hover your mouse over the beginning or end of the clip in the timeline.
- The cursor changes to a resize tool.
- Click and drag inward to trim video duration.
How to Split Clips
Sometimes you want to cut a section out of the middle of a video. You need to slice the clip into pieces.
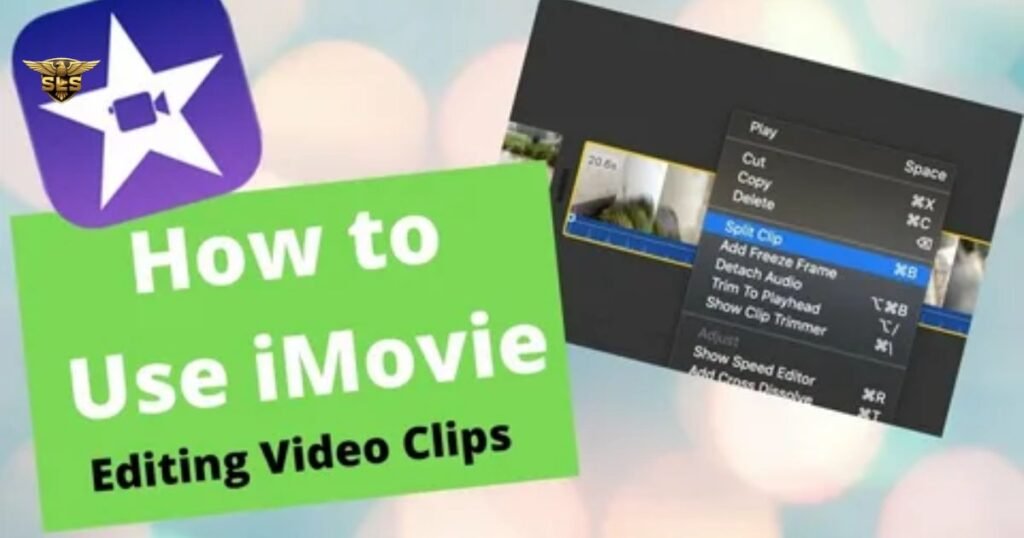
- On Mac: Move your playhead (the vertical white line) to the exact moment you want to cut. Press Command + B. This is the keyboard shortcut for “Blade.” It instantly splits the clip.
- On iPhone: Tap the clip in the timeline so it is highlighted in yellow. Move the playhead to the cut point. Tap the “Actions” icon (scissors) and then tap Split.
Once split, you can delete the middle section or insert B-roll (secondary footage) in between the cuts.
Step 3: Enhancing Visuals with Color and Stabilization
Footage straight out of the camera often looks flat or shaky. iMovie has built-in tools to fix this.
Stabilize Shaky Footage
I once filmed a walking tour while holding my camera. The footage looked like an earthquake was happening. iMovie saved it.
- Select your clip in the timeline.
- Above the preview window, click the camera icon (Stabilization).
- Check the box “Stabilize Shaky Video.”
- The system analyzes the clip and smooths it out.
Color Correction
To make your video pop:
- Select the clip.
- Click the Palette icon (Color Correction) above the viewer.
- Adjust the sliders to fix exposure (brightness) and temperature (warmth).
- Alternatively, click the three overlapping circles to add filters for a stylized look.
Step 4: Adding Audio and Music

Bad audio ruins good video. Viewers forgive grainy video, but they will click away if the sound is terrible.
Adding Music
You can drag audio files right into the timeline below your video clips. The background turns green to indicate it is an audio track.
- Audio Levels: Drag the horizontal line across the green audio bar up or down to adjust volume control.
- Fading: Hover over the beginning or end of the audio clip. A small dot appears. Drag this dot inward to fade the music in or out smoothly.
Background Noise Reduction
If your video has a loud air conditioner humming in the background:
- Select the video clip.
- Click the Equalizer icon (Noise Reduction and Equalizer) above the viewer.
- Check “Reduce background noise” and adjust the slider percentage.
Note: Always use copyright free music if you plan to upload to YouTube. Platforms like storyblocks.com or Epidemic Sound offer safe options.
Step 5: Titles and Transitions
To make your video flow, you need transitions. However, a word of warning: beginners often overuse crazy transitions. Stick to the classics.
- Transitions: Go to the “Transitions” tab. Drag “Cross Dissolve” between two clips. It is professional and subtle.
- Add Text: Click the “Titles” tab. Drag a title style over your video clip. You can double-click the text in the preview window to edit the words, font, and size. This is essential for intros or lower-thirds.
Advanced Features: Creating “Pro” Edits
Once you master the basics, try these features to stand out.
The Ken Burns Effect
This brings still photos to life by slowly zooming or panning across them.
- Select a photo in your timeline.
- Click the Cropping icon (square with overlapping corners).
- Select Ken Burns.
- Set your “Start” and “End” frames on the image.
Green Screen Effect
Want to put yourself on the moon?
- Film yourself in front of a green wall/screen.
- Drag a background image to the timeline.
- Drag your green screen footage above the background image.
- With the top clip selected, click the Video Overlay Settings (square-on-square icon).
- Change “Cutaway” to Green/Blue Screen. iMovie automatically removes the green.
Speed Adjustment
You can create dramatic slow-motion or funny fast-forward sequences.
- Select the clip.
- Click the Speedometer icon.
- Choose Slow, Fast, or Freeze Frame from the dropdown menu.
Essential Keyboard Shortcuts for Mac Users
Efficiency is the mark of a pro editor. While sources like invideo.io and YouTube tutorials offer visual guides, memorizing these shortcuts will double your editing speed.
| Action | Shortcut (Mac) | Function |
|---|---|---|
| Split Clip | Command + B | Cuts the clip at the playhead position. |
| Undo | Command + Z | Reverses your last action (a lifesaver). |
| Copy | Command + C | Copies the selected clip. |
| Paste | Command + V | Paste the copied clip at the playhead. |
| Select All | Command + A | Selects every clip in the timeline. |
| Zoom In | Command + + | Zooms into the timeline for precise cuts. |
| Zoom Out | Command + – | Zooms out to see the whole project. |
Exporting Your Video

You’ve trimmed, polished, and mixed your audio. Now you need to share movie.
- Click the “Share” button (square with an upward arrow) in the top right corner.
- Select Export File.
- Resolution: Choose 1080p or 4k depending on your source footage.
- Quality: Select High or Best (ProRes).
- Compress: Choose Better Quality.
- Click Next, name your file, and save it.
If you are just sending a draft to a friend, you can select “Email” for a smaller file size.
Frequently Asked Questions
How do I start a new project in iMovie? Open the app, go to the Projects tab, and click the large Plus (+) sign. Select “Movie” for a standard project where you have full creative control.
How do I import videos into iMovie? You can drag files directly from your Finder (Mac) onto the event area, or use the Import Media button (downward arrow icon) to browse your computer or connected cameras.
How do I trim or cut clips in iMovie? To trim, drag the edges of the clip inward. To cut (split) a clip into two pieces, place the playhead where you want the cut and press Command + B on Mac or tap the scissors icon then “Split” on iPhone.
How do I add music to my iMovie project? Drag audio files into the timeline below your video clips. They will appear as green bars. You can adjust the length and volume independently of the video.
Can I add text and titles to my videos in iMovie? Yes. Click the “Titles” tab above the browser. Drag your preferred style onto the timeline, either on top of a video clip (as an overlay) or between clips (on a black background).
How do I change the speed of a video clip in iMovie? Select the clip, click the Speedometer icon above the viewer, and select “Slow” or “Fast” from the Speed dropdown menu.
How do I export my finished video from iMovie? Click the Share icon in the top right corner. Select “Export File” (or “File”), choose your resolution (usually 1080p or 4k), and click Next to save it to your drive.
How do I adjust audio levels in iMovie? In the timeline, looking at your clip, there is a horizontal line running through the audio waveform. Drag this line up to increase volume or down to decrease it.
Can I use filters and effects in iMovie? Yes. Select a clip and click the “Clip Filter” icon (three overlapping circles). You can choose from various styles like Black & White, Sci-Fi, or Vintage.
How do I stabilize shaky footage in iMovie? Select the shaky clip, click the Camera icon (Stabilization) above the viewer, and check the box labeled “Stabilize Shaky Video.”
Is iMovie available on both Mac and iPhone? Yes, iMovie is free and available on Mac, iPhone, and iPad. Projects can often be moved between devices, though the Mac version has more features.
How do I use green screen in iMovie? Place your green screen footage on the top video track in the timeline (above your background clip). Select the green screen clip, click the Video Overlay Settings icon, and choose “Green/Blue Screen.”
What is the difference between a Movie and a Trailer project in iMovie? A “Movie” is a blank slate for custom editing. A “Trailer” provides a structured template with storyboards and musical scores, guiding you to create a movie trailer-style video.
How do I organize my media files for iMovie? It is best to create a dedicated folder on your computer or an Album on your iPhone before you start. Import everything into a single “Event” inside iMovie to keep assets for that specific project together.
Editing does/n’t have to be a headache. With these steps, you can turn raw footage into compelling stories. For more visual examples, check out tutorials on https://sarmadlalistudios.com


