Last Updated: December 31, 2025
Photographers have relied on Adobe Lightroom to impart a distinctive style to their images. But as the line between photography and videography blurs, creators are asking a crucial question: Can you edit video in Lightroom?
The short answer is a resounding yes. Whether you are a social media creator wanting consistent aesthetics across your Instagram grid or a hybrid shooter looking to color grade footage quickly, Lightroom offers powerful tools to get the job done. However, the process varies significantly depending on whether you use Lightroom (Cloud-based), Lightroom Classic, or Lightroom Mobile.
This comprehensive guide will walk you through the exact workflows, workarounds, and limitations of editing video in the Lightroom ecosystem.
Can You Really Edit Video in Lightroom? (Setting Expectations)

Before diving into the sliders, it is vital to understand what Lightroom is—and what it isn’t. Adobe Lightroom is not a traditional non-linear video editor (NLE), such as Adobe Premiere Pro or DaVinci Resolve. You cannot stitch multiple clips together, add cross-dissolve transitions, or mix complex audio tracks.
Instead, think of video editing in Lightroom as a color grading and trimming engine. It excels at:
- Color Correction: Fixing white balance and exposure issues.
- Color Grading: Applying a specific artistic “look” or mood.
- Consistency: Applying the exact same presets to both your photos and videos.
- Trimming: Cutting the start and end points of a single clip.
If your goal is to make your raw video clips look professional and match your photography portfolio, Lightroom is the perfect tool.
Lightroom (Cloud) vs. Lightroom Classic: The Great Divide
The most confusing aspect for beginners is that Adobe has two desktop versions of Lightroom, and they handle video very differently.
Lightroom (Cloud) (often just called “Lightroom”) has a modern interface with native video support. You can open a video and edit it almost exactly like a photo.
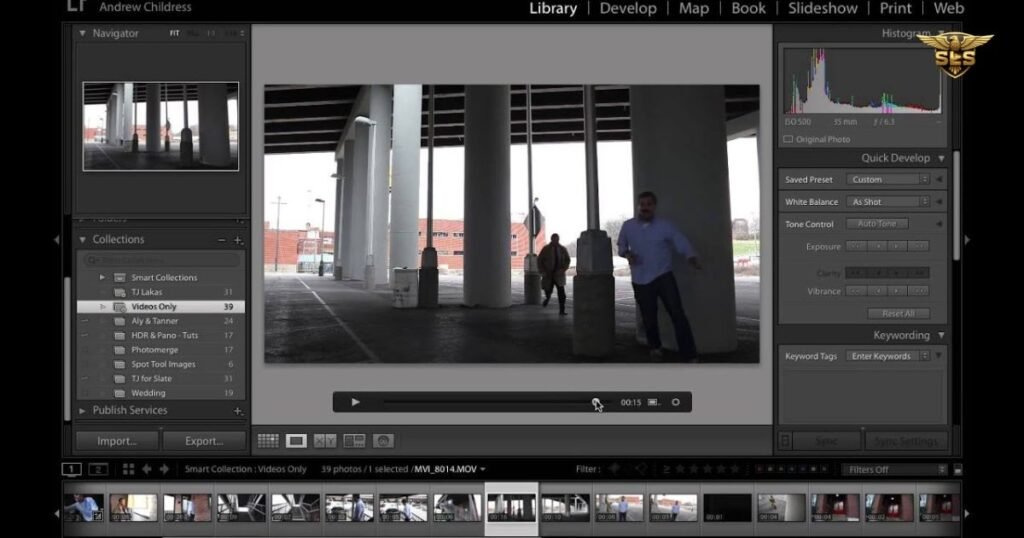
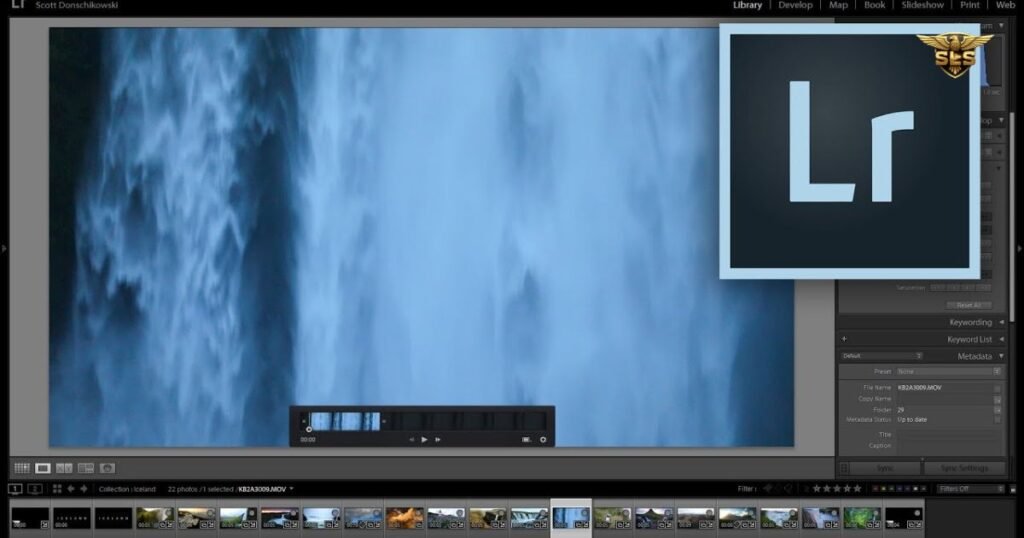
Lightroom Classic, the desktop workhorse for pros, is more restrictive. It does not allow video editing in its main “Develop” module. You must stick to the “Library” module or use a specific workaround.
Feature Comparison: Video Capabilities
| Feature | Lightroom (Cloud & Mobile) | Lightroom Classic |
|---|---|---|
| Primary Interface | Edit Panel (Native Support) | Library Module (Quick Develop) |
| Trimming | Visual Timeline with Handles | Basic Trim Tool |
| Presets | Fully Supported | Supported (via Quick Develop) |
| Develop Module Access | Yes (Direct) | No (Grayed out for video) |
| Key Workaround | None needed | “Capture Frame” method required for full control |
| Export Quality | MP4 (H.264) | MP4 (H.264), up to 4K |
How to Edit Video in Lightroom (Desktop Cloud Version)

The cloud-based version of Lightroom offers the most intuitive experience. If you are familiar with editing photos here, the transition to video is seamless.
Step 1: Import Your Footage
Click the “Add Photos” button (the plus icon) and select your video files. Lightroom supports the most common formats like MP4 and MOV. Once imported, your video will appear in your grid just like a photograph.
Step 2: Enter Detail View
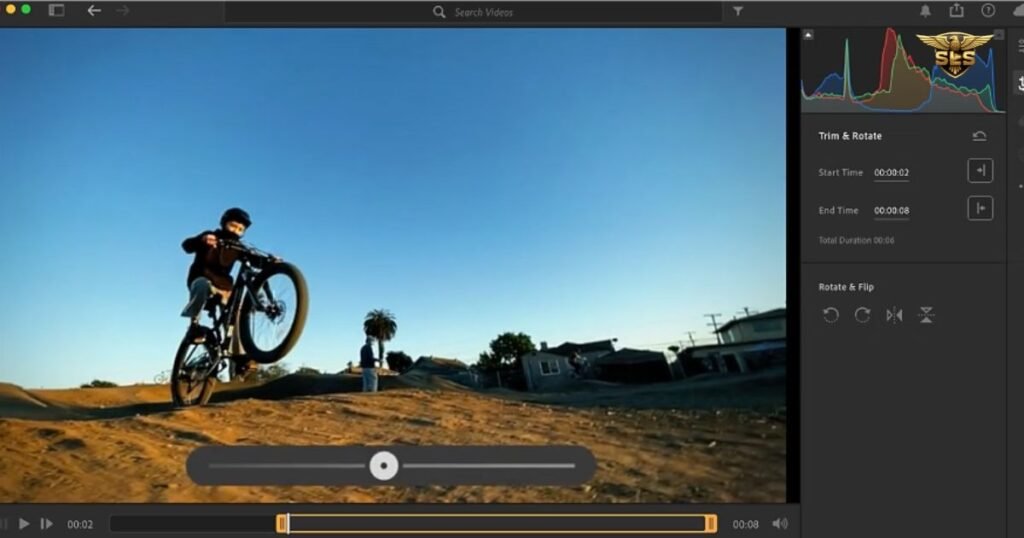
Double-click your video or press ‘D’ to enter the Detail view. Unlike older versions, modern Lightroom recognizes the file as a video and instantly provides a timeline bar at the bottom of the screen.
Step 3: Trimming the Clip
Before color grading, clean up your clip.
- Look for the film strip or timeline at the bottom.
- Drag the yellow handles on the left and right sides to set your new “In” and “Out” points.
- This is non-destructive, meaning you can always drag the handles back later if you cut too much.
Step 4: Apply Adjustments
Open the Edit panel on the right. You will notice that while tools like Healing, Masking, and Geometry are disabled, the core Light and Color panels are active.
- Light: Adjust Exposure, Contrast, Highlights, and Shadows to balance the dynamic range.
- Color: Use the Temp and Tint sliders to fix white balance.
- Effects: You can even add Grain for a vintage film look or a Vignette to draw focus to the center.
Step 5: Copy and Paste Edits
This is a massive time-saver. If you have edited one clip to perfection:
- Press
Command + C(Mac) orCtrl + C(Windows) to copy settings. - Navigate to the next video clip.
- Press
Command + V/Ctrl + Vto paste the exact look.
How to Edit Video in Lightroom Classic (The “Capture Frame” Workaround)
If you are a die-hard Lightroom Classic user, you might panic when you see the “Video is not supported in Develop” message. Don’t worry, there is a pro workflow to bypass this limitation, often highlighted by experts at Shotkit and Digital Photography School.
Step 1: Import and View in Library
Import your video as usual. Remain in the Library module. You can perform basic edits here using the “Quick Develop” panel on the right, but these buttons are imprecise.
Step 2: Capture a Still Frame
To unlock the full power of Lightroom Classic:
- Play the video and pause on a frame that represents the average lighting of the clip.
- Click the distinct rectangular icon below the video playback bar (or right-click the video).
- Select “Capture Frame”.
- This creates a separate JPEG image called a “stacked image” right next to your video.
Step 3: Edit the Still Image
Select that newly created JPEG and switch to the Develop module. Now, you have full access to all sliders, curves, and HSL tools. Create your look here.
- Note: Avoid using local masks, spot removal, or heavy clarity/sharpening, as these often do not translate well or at all when synced back to video.
Step 4: Sync Settings to Video
Once the JPEG looks perfect:
- Return to the Library module.
- Select both the edited JPEG and your original video file (hold Shift or Command/Ctrl).
- Ensure the JPEG is the “active” selection (brightest highlight).
- Click the “Sync Settings” button at the bottom right.
- Check the boxes for the adjustments you made (White Balance, Color, Tone) and click Synchronize.
Your video will now pop with the exact color grade of the photo.
Mastering Color Grading and Presets

The real magic of video editing in Lightroom lies in color grading. This transforms flat, boring footage into cinematic content.
Using Presets on Video
Presets are the fastest way to get a professional look. In the cloud version and mobile app, you simply click the “Presets” button.
- Premium & Adaptive Presets: Lightroom now offers adaptive presets, though some AI features may be limited on video compared to static images.
- Amount Slider: If a preset feels too intense for video, use the Amount slider (a relatively new feature) to dial back the opacity of the preset from 100% to roughly 50% for a subtler look.
The Power of the Color Mixer
For manual grading, the Color Mixer (HSL) is your best friend.
- Hue: Change the color of specific elements (e.g., turn teal water into deep blue).
- Saturation: Boost or mute specific colors. A common trick is to slightly desaturate greens and boost orange/red luminance for flattering skin tones.
- Luminance: Adjust the brightness of specific colors.
Cinematic Color Grading
Use the Color Grading wheels (formerly Split Toning) to inject mood.
- Shadows: Add a touch of Teal or Blue to the shadows.
- Highlights: Add a warm Orange or Yellow to the highlights.
- This “Teal and Orange” contrast is a staple in Hollywood and works beautifully in Lightroom.
Editing on the Go: Lightroom Mobile
For social media creators, Lightroom Mobile (iOS and Android) is a powerhouse. The interface is nearly identical to the desktop cloud version.
- Import: Import videos from your camera roll.
- Edit: Use the same Light, Color, and Effects tabs.
- Smart Features: Adobe’s AI (Sensei) can suggest Recommended Presets based on the content of your video, analyzing exposure and color data automatically.
- Export: Save directly to your phone’s gallery, ready for TikTok or Instagram Reels.
According to Adobe’s own updates, the mobile app supports rotation and flipping, which is essential if you accidentally filmed in the wrong orientation.
Crucial Limitations to Keep in Mind
While powerful, Lightroom is not a magic wand for all video problems.
- No Local Adjustments: You cannot use the brush tool, linear gradients, or radial gradients to edit just part of the video frame. The subject moves, but the mask stays still (or doesn’t apply at all).
- No Noise Reduction: Features like “Dehaze,” “Clarity,” and rigorous “Noise Reduction” often heavily tax the processor or are disabled for video to prevent playback lag.
- Single Layer: You are editing one clip at a time. You cannot overlay text, add music, or blend multiple video tracks.
Exporting Your Masterpiece
Once your edit is complete, you need to get the video out of Lightroom.
- Format: Lightroom exports video primarily in MP4 format using the H.264 codec. This is the universal standard for web and social media.
- Resolution:
- Lightroom (Cloud/Mobile): Generally maintains the original resolution.
- Lightroom Classic: When exporting, you can choose quality settings. While older versions were limited to 1080p, TechRadar and recent updates confirm that Classic can now export source resolutions, including 4K.
- Metadata: You can choose to include or strip metadata (location info, camera settings) upon export.
Best External HD for Video Editing in 2026: Speed, Storage & Reliability
FAQs: Video Edit in Lightroom
Can you edit videos in Adobe Lightroom?
Yes. Both Lightroom (Cloud) and Lightroom Classic support video editing. The Cloud version has a native interface for it, while Classic requires using the Library module or a workaround involving capturing a still frame.
What are the limitations of video editing in Lightroom?
Lightroom is not a video assembly tool. You cannot combine multiple clips, add audio, create transitions, or use text overlays. Additionally, advanced photo tools like masking, healing brushes, and intense noise reduction are generally unavailable for video.
How do you import videos into Lightroom?
The process is identical to importing photos. In the Cloud version, click the “Add Photos” button. In Classic, use the “Import” dialog in the Library module. Drag and drop also works for both.
Can I use presets on videos in Lightroom?
Yes, this is one of the strongest features. You can apply standard user presets, Adobe’s premium presets, or your own saved custom presets to videos to match your photography style.
How do I color grade videos in Lightroom?
You can color grade using the “Color” panel (Temperature, Tint, Vibrance, Saturation), the “Color Mixer” (HSL sliders), and the dedicated “Color Grading” wheels (Highlights, Midtones, Shadows).
What’s the difference between video editing in Lightroom (Cloud) and Lightroom Classic?
Lightroom (Cloud) allows you to edit video directly with a specialized edit panel. Lightroom Classic does not allow video editing in its “Develop” module; you must edit in the “Library” module’s Quick Develop panel or sync settings from an edited still photo.
How do I trim a video in Lightroom? In Lightroom (Cloud) and Mobile, open the video in Detail view and use the timeline handles at the bottom to adjust the start and end points. In Classic, click the gear icon on the playback bar in the Library module to access trim handles.
Can I export videos from Lightroom in 4K?
Yes. If your original file is 4K, recent versions of Lightroom Classic and Lightroom Cloud allow you to export in 4K MP4 format.
Which video adjustments are supported in Lightroom Classic? Natively in the Quick Develop panel, you can adjust White Balance, Tone Control (Exposure, Contrast, Whites, Blacks), and Vibrance. However, by syncing settings from a photo, you can apply HSL and Color Grading adjustments as well.
Can I copy and paste edits between photos and videos in Lightroom?
Yes. You can copy the edit settings from a photo and paste them onto a video clip, which is excellent for maintaining a cohesive look across a project.
Does Lightroom Mobile support video editing?
Yes, the Lightroom Mobile app (iOS and Android) has robust video editing capabilities, mirroring the features of the desktop Cloud version, including trimming, rotating, and preset application.
Is Lightroom a replacement for professional video editing software like Premiere Pro?
No. Lightroom is strictly for color grading and basic trimming of single clips. For assembling a story with multiple shots, audio mixing, and effects, you need software like Adobe Premiere Pro.
Conclusion: Video Edit in Lightroom
Adobe Lightroom has evolved from a pure photography tool into a versatile asset for hybrid creators. While it will never replace a dedicated video editor for complex storytelling, its ability to apply sophisticated color grading and presets to video clips is unmatched for speed and consistency.
If you want your Instagram Reels or YouTube B-roll to match the aesthetic of your photography portfolio perfectly, video editing in Lightroom is the most efficient workflow available in 2025. Whether you use the seamless interface of Lightroom Cloud or the “capture frame” trick in Classic, you now know to unlock the cinematic potential of your footage.


